As part of the V&A/RCA History of Design MA course, during the spring term students have the chance to explore early modern making techniques as a form of historical research through practice. With the support of V&A curators, conservators and tutors, students recreate early modern recipes to reflect on practices of making and the nature of artisan knowledge and skill.
The Thinking and Experiencing ‘Techne’ course is a satellite project of the ‘Making and Knowing’ project based at Columbia University, in New York, and this year was also a collaboration with the V&A’s Robert H. Smith Scholar in Residence, Dr. Spike Bucklow, from the Hamilton Kerr Institute. For more details on the workshops see News & Events at the RCA.
In this post, Stephanie Blythman and Elena Porter describe the group’s experiences following a recipe to create a marbled effect on wood and experimenting with the azurite paint and amber varnish made in the previous sessions:
The recipe for the marbling came from a French manuscript held in the Bibliothèque Nationale de France titled ‘Vernis pour destrempe’, or ‘Varnish for Distemper’. Distemper is a type of paint which uses a glue or fixative instead of using an oil or water base or ‘medium’.
Varnish for distemper
You can make marble distemper with lake or rose of Ghent and chalk. Once dry, glaze it with lake mixed with wine, for glue will dull and blacken it. And the whole will firstly appear red, but the varnish you will apply, which will penetrate it, will make dark and light parts appear as they should. The varnish is made like this: mix with clear Venice turpentine some aspic oil until it becomes clear and liquid, and this is done without fire. This is for things done in tempera, and the turpentine varnish that you know is for panel paintings. Pure spike-lavender varnish is not good for panel paintings because spike-lavender oil is too penetrating and makes colours shine unless it has been made long beforehand.”
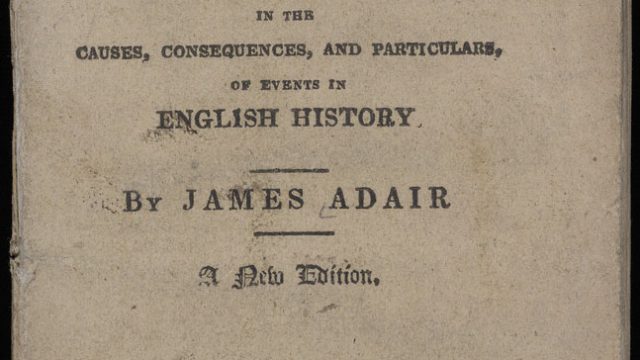
Appendix I: BNF. Fr. Ms. 640 fol. 56r
The first task was to make and create our coloured marbling effect ready to be varnished. The recipe does not explain how to do this, only stating that you can make a marbling effect with ‘lake or Rose of Ghent and chalk’, so we had to rely on the skills about mixing pigments with different mediums we had learned from the azurite session.
As the recipe states this is a varnish for distemper paints we used rabbit skin glue as our paint medium. For those who did not like the idea of using the rabbit skin glue, we had an alternative of ready-made gum arabic.
To make up the rabbit skin glue from its powder form, it needed to be mixed with warm water, and the paint made with it had to be kept warm or it would set into a jelly-like substance. We maintained its liquid state by leaving the main jug of glue (which had a rather pungent, unpleasant smell) in a bath of hot water, and when the paints began to set in their pots we placed them on a radiator until they were liquid again.
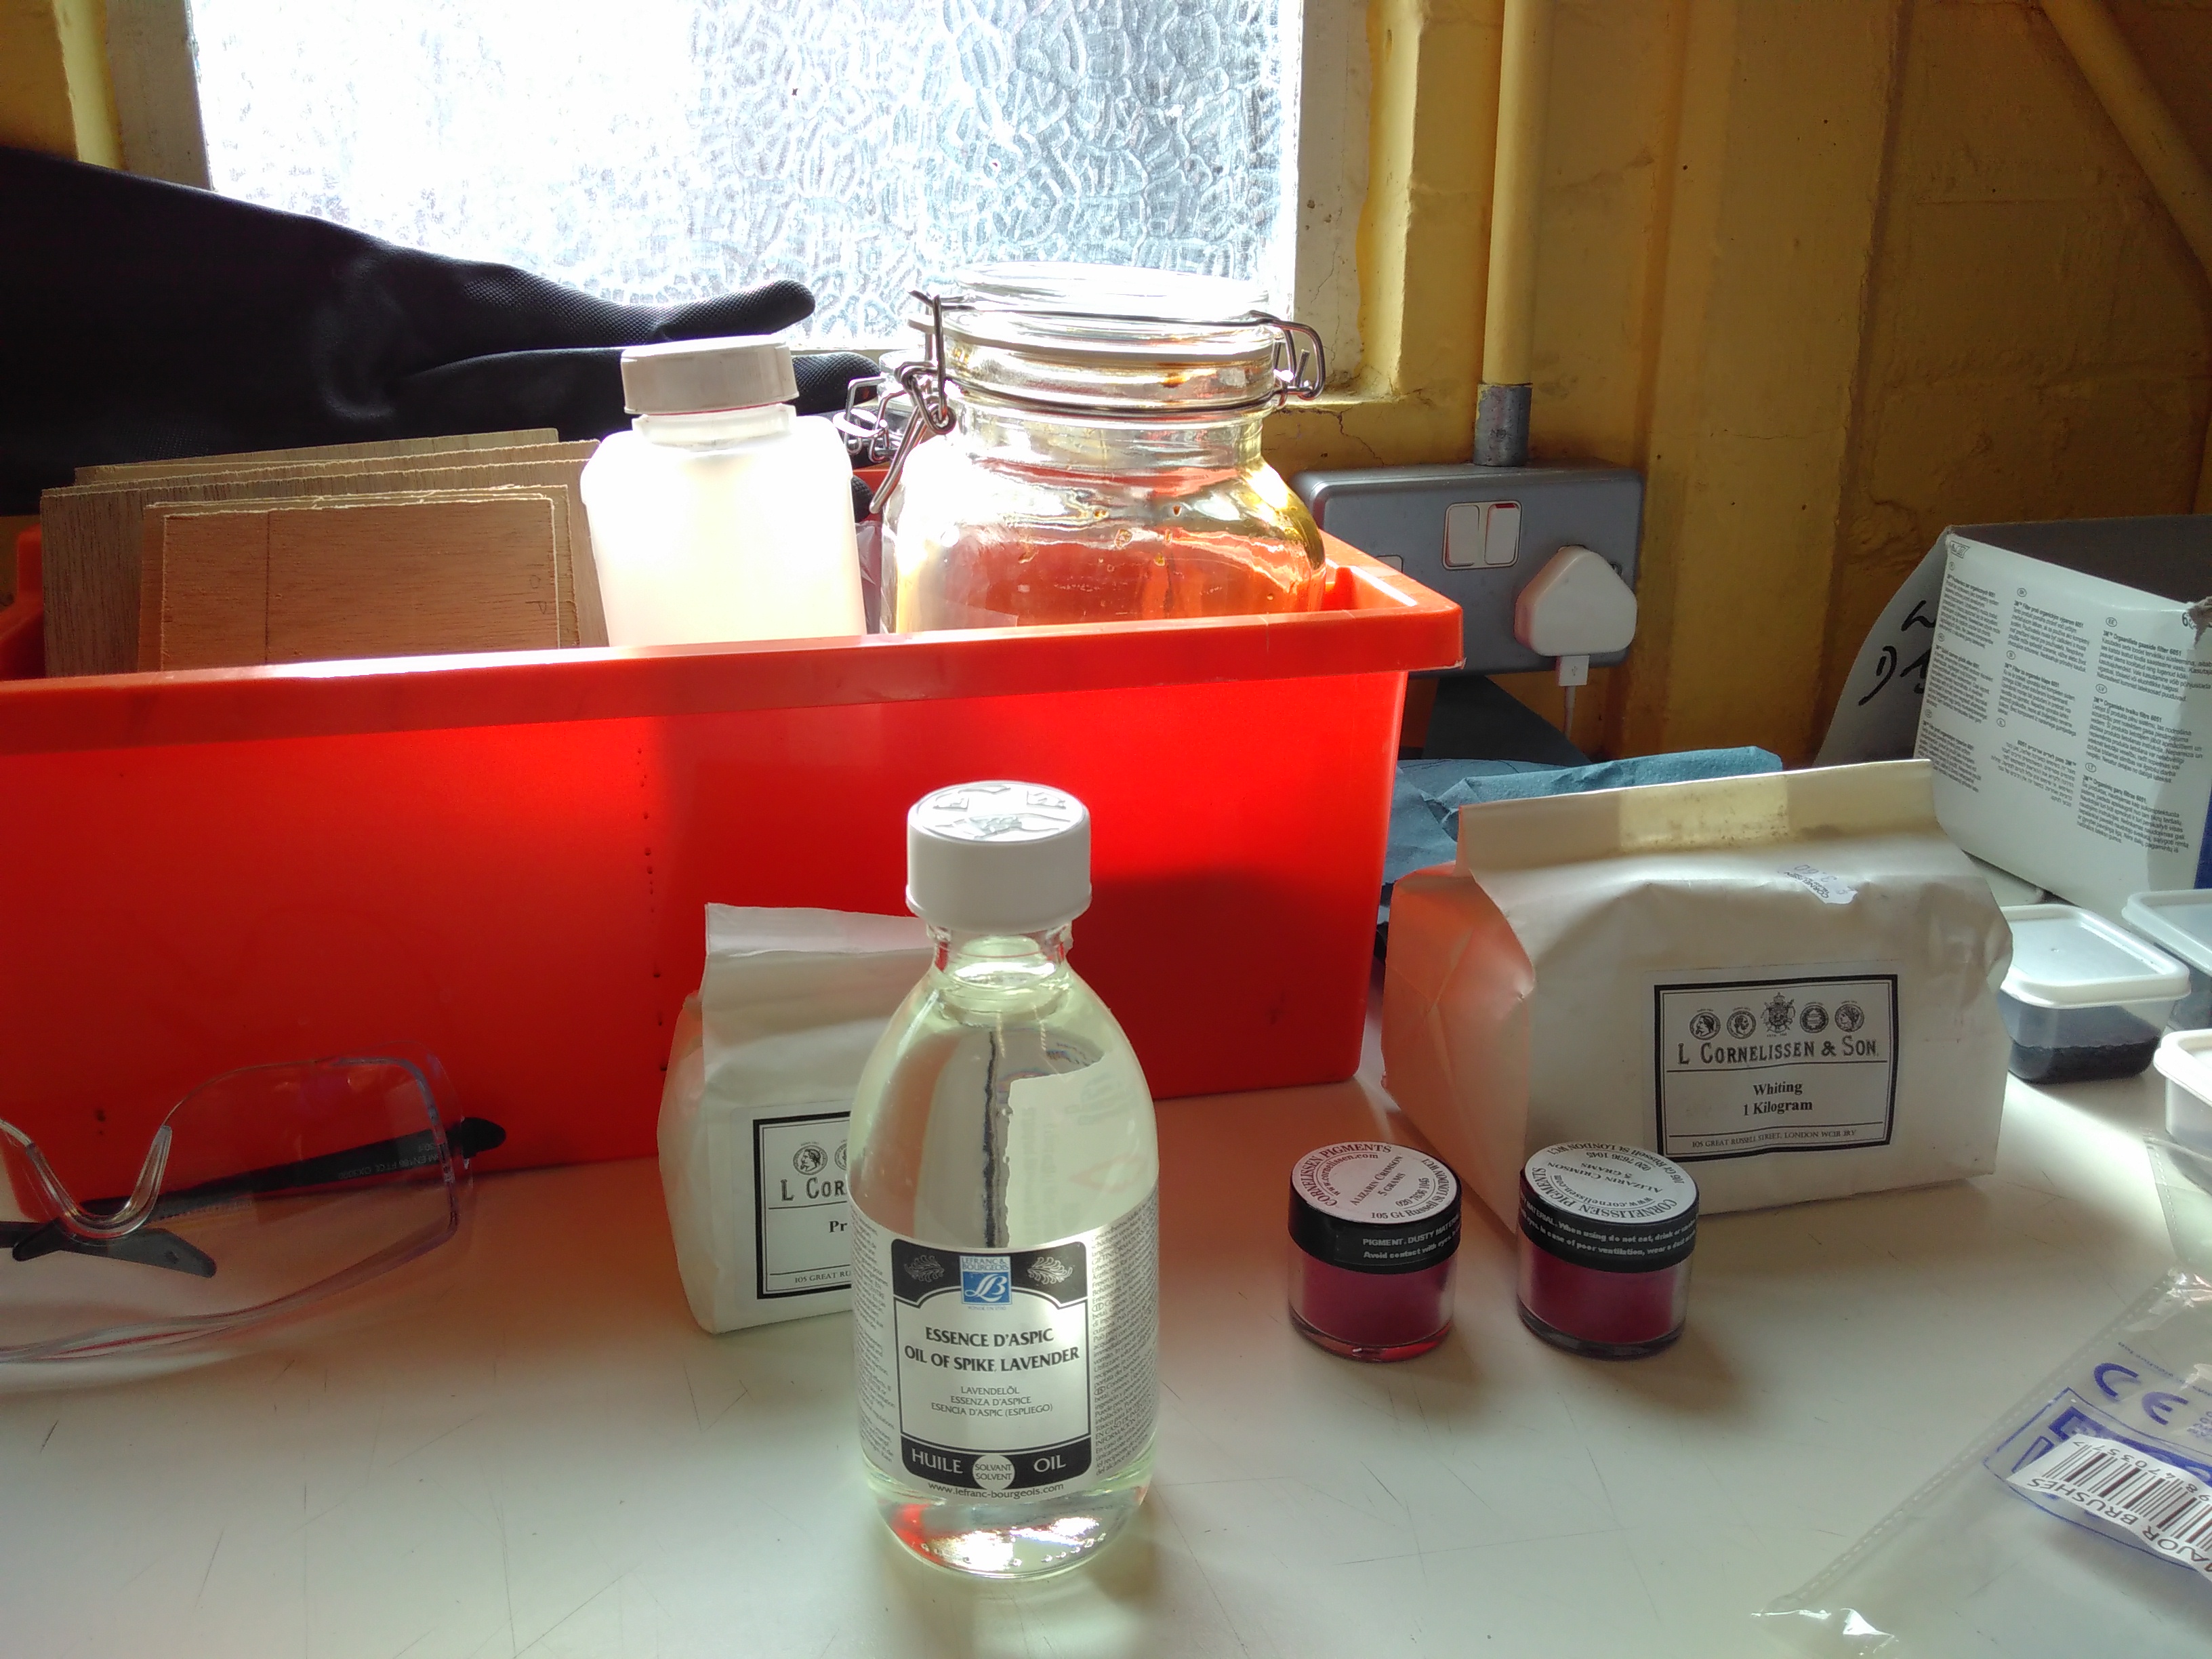
Using the gum arabic was much simpler. It could be mixed straight from its container and remained liquid without any heat. We used four colour options: chalk for white, madder which produces a dull, brownish red, the azurite blue we made in the first lab session, and synthetic alizarin crimson which produces a deeper, more purple-red than the madder.
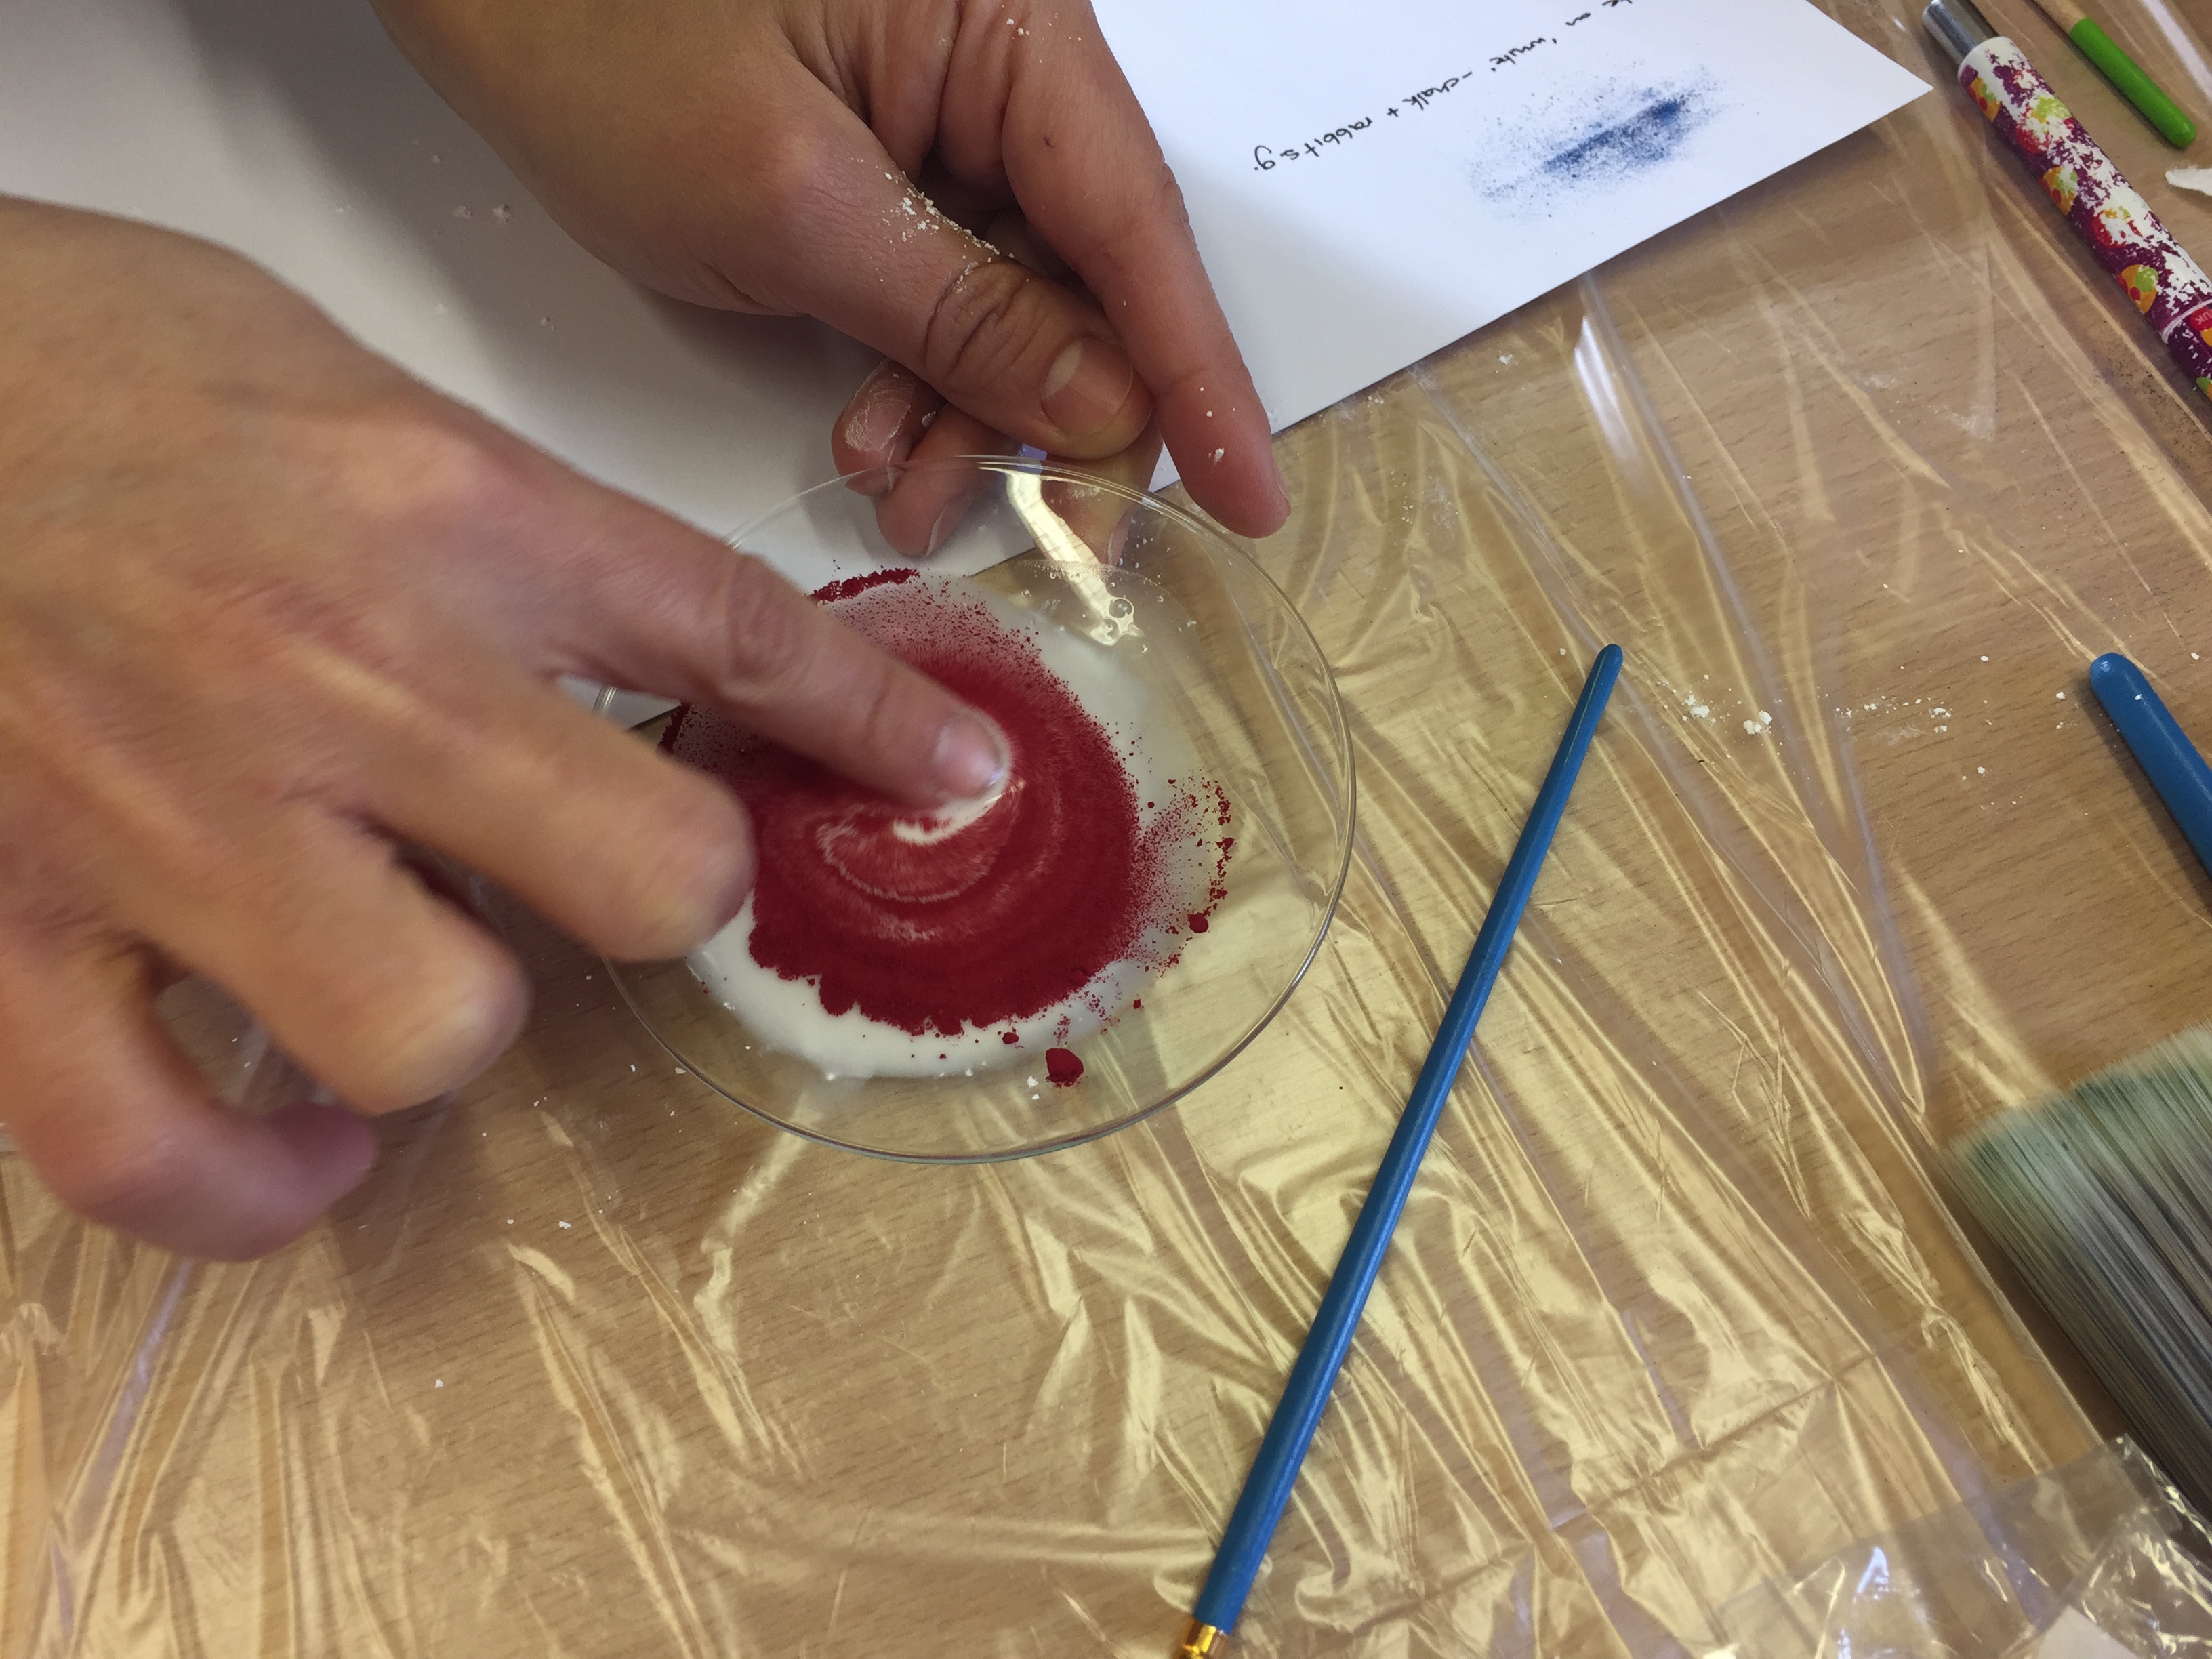
To mix the paint powders with our chosen medium, we scooped a small amount of powder into our dishes, added some of our chosen glue binder and began to combine them by swirling them around the dish with a finger.
Once we were happy with our colours and had tested them on paper, we began to paint the pieces of plywood, which had been prepared with a base coat of chalk paint. While mixing the paints we noticed that the shop-bought madder was very grainy compared with our azurite. This meant that when painting we had to be careful how deeply we dipped the brush into the madder in case we caught any of the grains and transferred them to the surface of our wood. This was true for the other colours as well, although not to the same extent.
The next step in the recipe called for a glaze of madder mixed with wine, which made the room smell strongly of alcohol. Once the paint was dry, we brushed the glaze over it being careful not to do this too much, as the glaze penetrated the paint beneath and we ran the risk of ruining our painted effect by overworking it. As the recipe suggested, the whole surface did indeed turn more red. It was not entirely clear what this step in the process was designed to achieve but leaving one surface unglazed would have allowed us to compare the two different surfaces.
It
a

We left the glazed marbling to dry and prepared the top coat varnish of Venetian turpentine and spike lavender oil. This time, despite both ingredients being very strong smelling, the scent of the lavender oil completely overpowered that of the turpentine. The recipe calls for the ingredients to be mixed until the mixture becomes ‘clear and liquid’, but even the most vigorous stirring could not get rid of the golden tint.
Although it seemed to be a golden yellow colour in the container, once the varnish was painted onto a wooden surface it proved to be very clear – just as the recipe described. This is presumably the kind of knowledge varnishers would have acquired, in addition to knowing the correct quantities of ingredients.

Findings:
We also used this opportunity to test the amber varnish we had made the previous week. This was a lot darker in colour and definitely added a yellowish tint to the marbling, which the marbling varnish did not. It was an interesting contrast, and allowed us further insight into the understanding the creators of these recipes had about the appropriate ingredients for achieving particular effects and outcomes.
We tried the amber varnish on both untreated and painted wood, brushing out a graduation of layers in order to see how the overall effect changed. Over time we will observe how the thinner and thicker varnished layers will change.

As none of us skipped glazing the painted wood, we are still none the wiser as to whether doing so would make a difference. Perhaps the red of the glaze is intended to combat the faint yellow tint of the varnish, however transparent it appears once applied to the surface? Perhaps it protects the marbling over time and does not necessarily have a visible effect.
The amber-varnished pieces of wood, marbled using azurite paint, represented three lab sessions of work. Experiencing the making processes ourselves, we were able to better appreciate the different forms of labour and embodied knowledge involved in early modern craftsmanship. None of us will ever look at an early modern varnished surface in the same way again!
To see what else V&A/RCA History of Design students have been up to, check our pages on the V&A and RCA websites and take a look at Un-Making Things, a student-run online platform for all things design history and material culture.