V&A/RCA History of Design students are one of the museum’s best-kept secrets. They organise conferences, symposia and shows, take part in practice-based workshops and study visits, contribute to major projects at the V&A and elsewhere and, of course, write about all aspects of the history of design, on this blog, and as part of their two-year MA programme.
In this post, current MA student Susan Newell takes us behind the scenes at the Royal College of Art’s foundry to share her experiences of learning through hands-on making as part of the first-year course, Thinking through Practice.
***
Students on the V&A/RCA MA in History of Design are by no means restricted to seminar rooms or libraries: this term we also got to experience various processes of designing and manufacturing close up. We were given the option of doing a Foundry or Glass Project, or contributing to Slashstroke Magazine, in addition to visits to RCA alumni studios and the ground-breaking digital printing design studio, RapidformRCA.
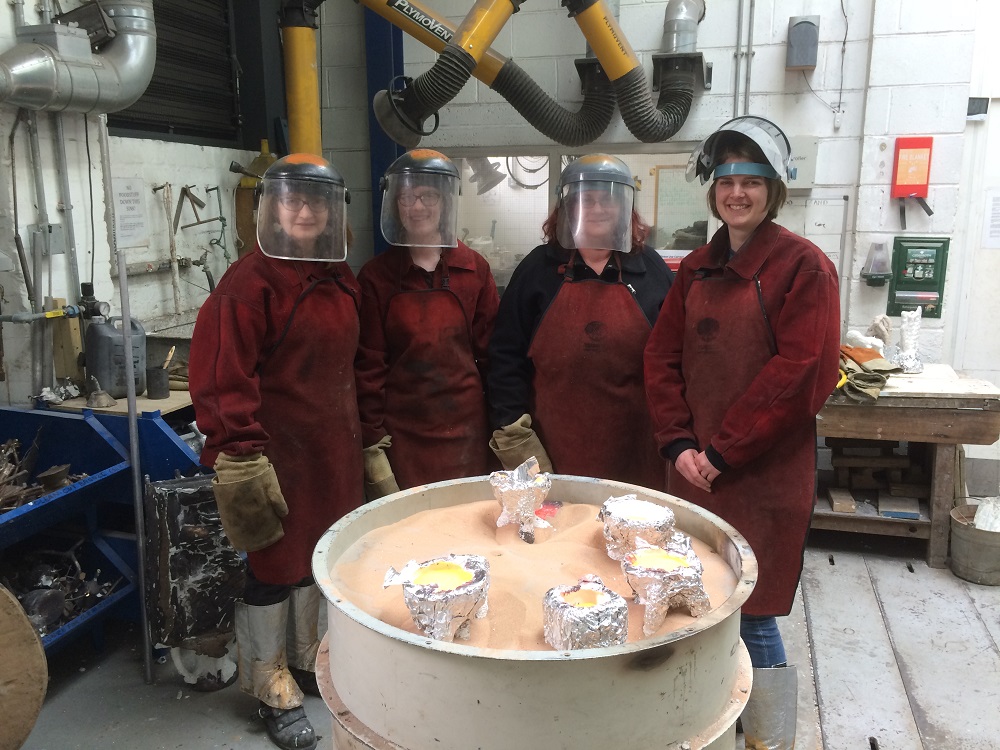
Taught by sculptor Becky Whitmore, a small group, including myself and two fellow first-year students Felicity Hall and Melissa Evans, were able to create bronze objects from scratch at the RCA’s foundry in Battersea. Over four days (spread over four weeks) Becky guided us through the complex business of bronze casting, affording us valuable insights into the physicality of this ancient craft and the agency of the maker.
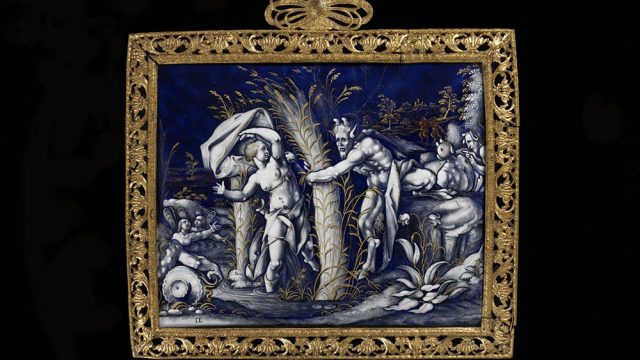
Our brief was to create an amulet or effigy, taking inspiration from those made in ancient Greece and Rome, and we were asked to arrive with ideas about what we wanted to make. At this important planning stage we learnt that the properties of our material were a key factor in the design process.
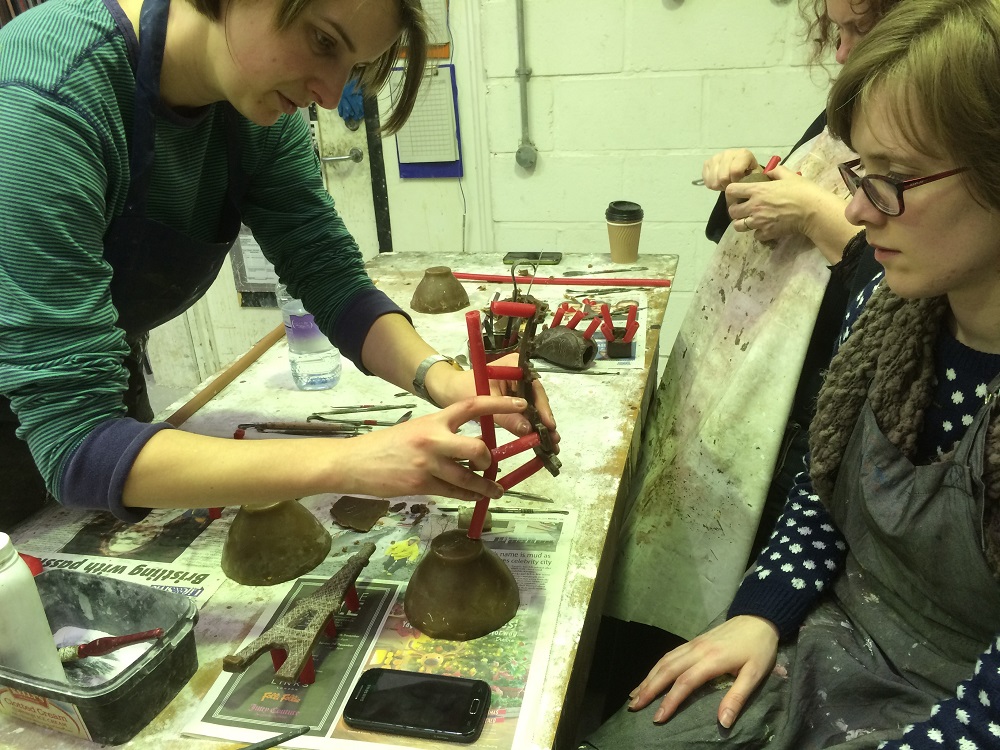
Next, we set about sculpting our models: after pouring molten wax onto a slab to make thin sheets, we used a variety of modelling tools to shape and decorate our objects in wax. We were then initiated into the bronze reproduction process using the lost wax method. Networks of wax tubes called ‘runners and risers’ were attached to the models to act as conduits, either for molten metal or to allow air to escape from the farthest recesses of the moulds.
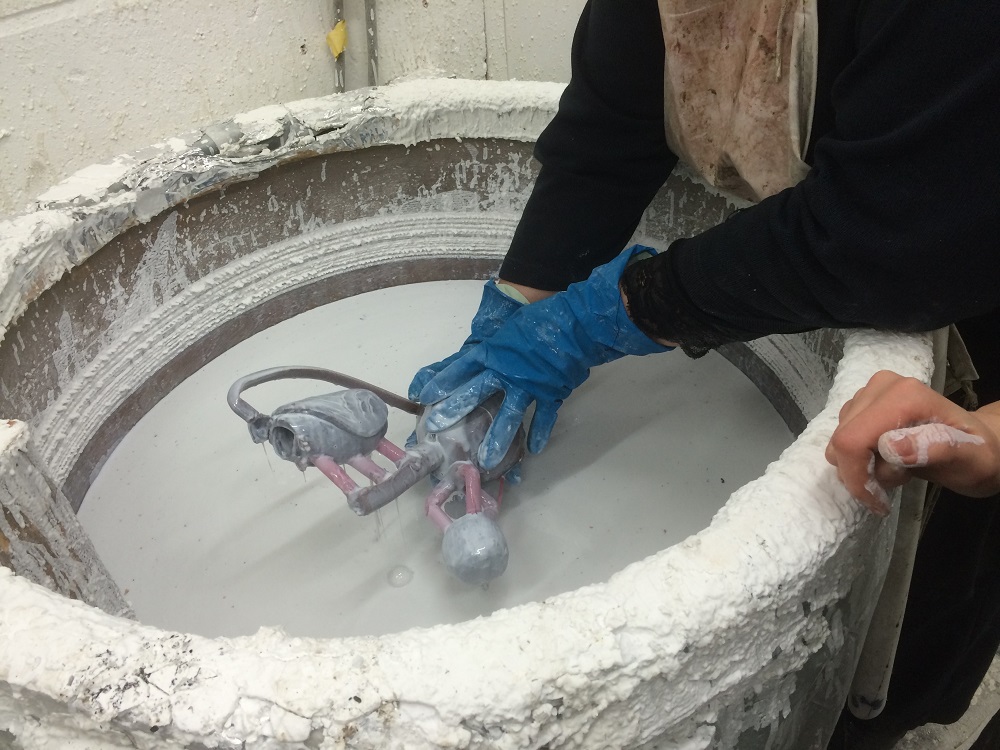
We started the process of creating a negative mould from the positive wax models by dipping them in a liquid ceramic slurry, then coating this with powdered stucco to form the solid body of the mould. The layers of stucco were built up during our absence thanks to Drew Cole, the Foundry Manager, and by session three our now heavy ceramic moulds had already been fired in the kiln, causing the wax to run out, leaving at their core a perfect negative of our original models.
The process of filling our moulds could only begin once everyone had been properly briefed on their roles – extremely important in the context of the potentially dangerous foundry environment.
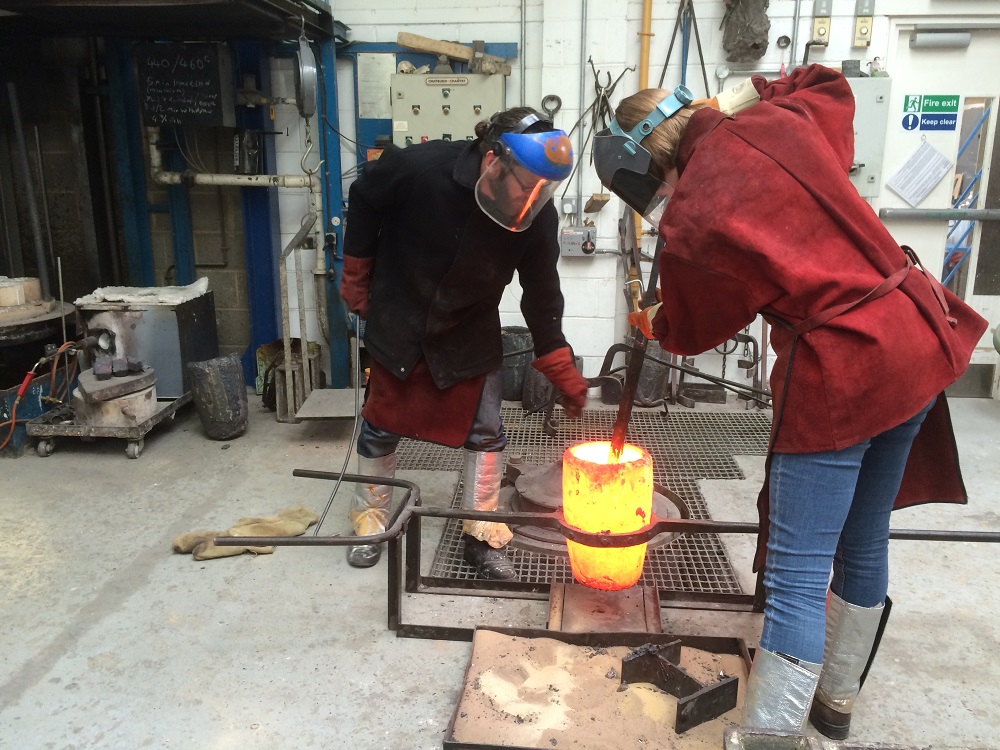

First Drew opened the kiln and handed us our re-heated moulds to place in a drum of sand. We then took up positions to one side, leaving the central area clear for Drew and Becky to raise the red-hot crucible from the furnace, and after removing the slag, pour the molten bronze into the waiting moulds.

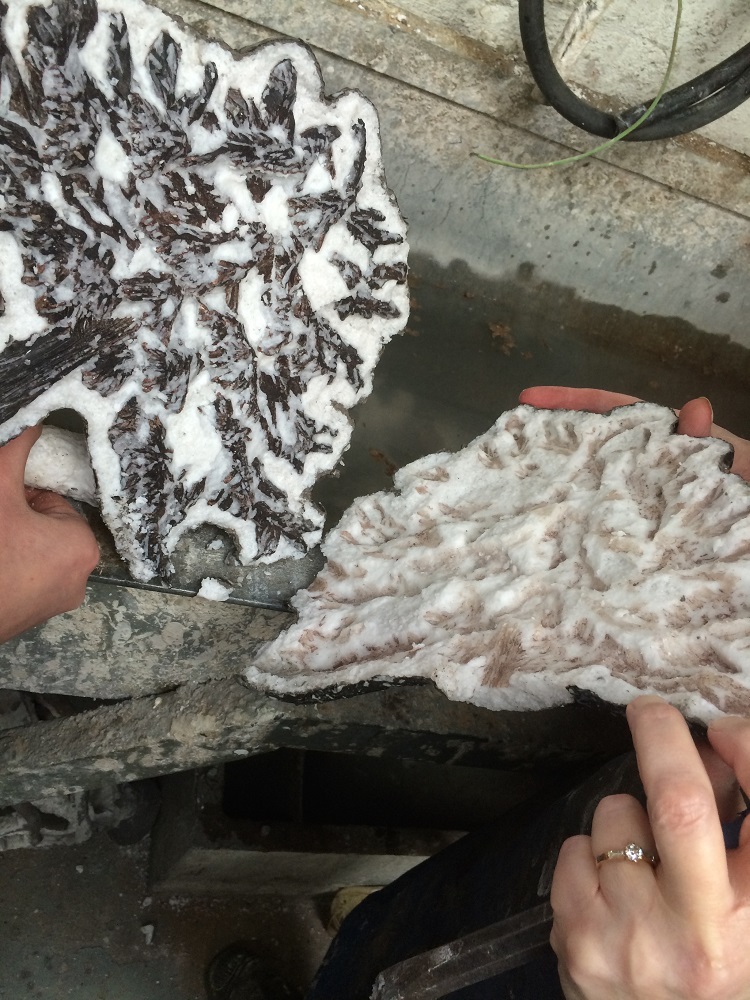
After cooling, we began the process of hacking off the outer shell; it was thrilling to see our sculptures slowly emerge from the chaos and noise of hammering and splintered stucco, now exactly reproduced in bronze.
Next the runners and risers (also called sprues and now in bronze) were sawn off, before the final stages of production could begin.

These finishing touches included removing the last traces of ceramic lodged in crevices using a sandblaster prior, as well as hand-working the fine detail with a variety of casing tools (cold chisels, punches, files and abrasives).

Metalworking was followed by patination, with Becky explaining that sculptors often develop highly individual and experimental approaches to achieving their desired surface effects and colours, using different hot or cold techniques with various chemicals, including ‘natural’ ones like urine, lemon juice or a period of burial in the earth.
Thanks to Becky, whose patience and skill made it such a satisfying and enjoyable experience, we are thrilled to have made our own bronzes.


As design historians, we have gained a new awareness of the materiality of metal objects and the teamwork necessary for their production, from the initial agency of the artist that creates the wax model, to the choreographed organisation of metallurgical and technical expertise within the foundry.
***
To see what else V&A/RCA History of Design students have been up to, read our other blog posts, check our pages on the RCA website and take a look at Un-Making Things, a student-run online platform for all things design history and material culture.