Christmas season is rolling in, meaning magic is truly in the air. Explore a yummy gingerbread biscuit recipe, craft a unique DIY Christmas card, or personalise a DIY hot chocolate mug – all perfect ways to turn up the joy and make something personal for your loved ones. Ditch the expensive shop-bought stuff and get crafting with some do-it-yourself ideas! Here’s our guide to help you get inspired with some special DIY gifts this year.
1. Handmade potato print cards
Start by watching this video for some printing inspiration! Shot at Yaseen Wooden Block Makers in Jaipur (that’s the largest city of the Indian state of Rajasthan), the video shows the step by step process of turning wood into a carved printing block that is then used for printing shapes onto fabric for clothes.
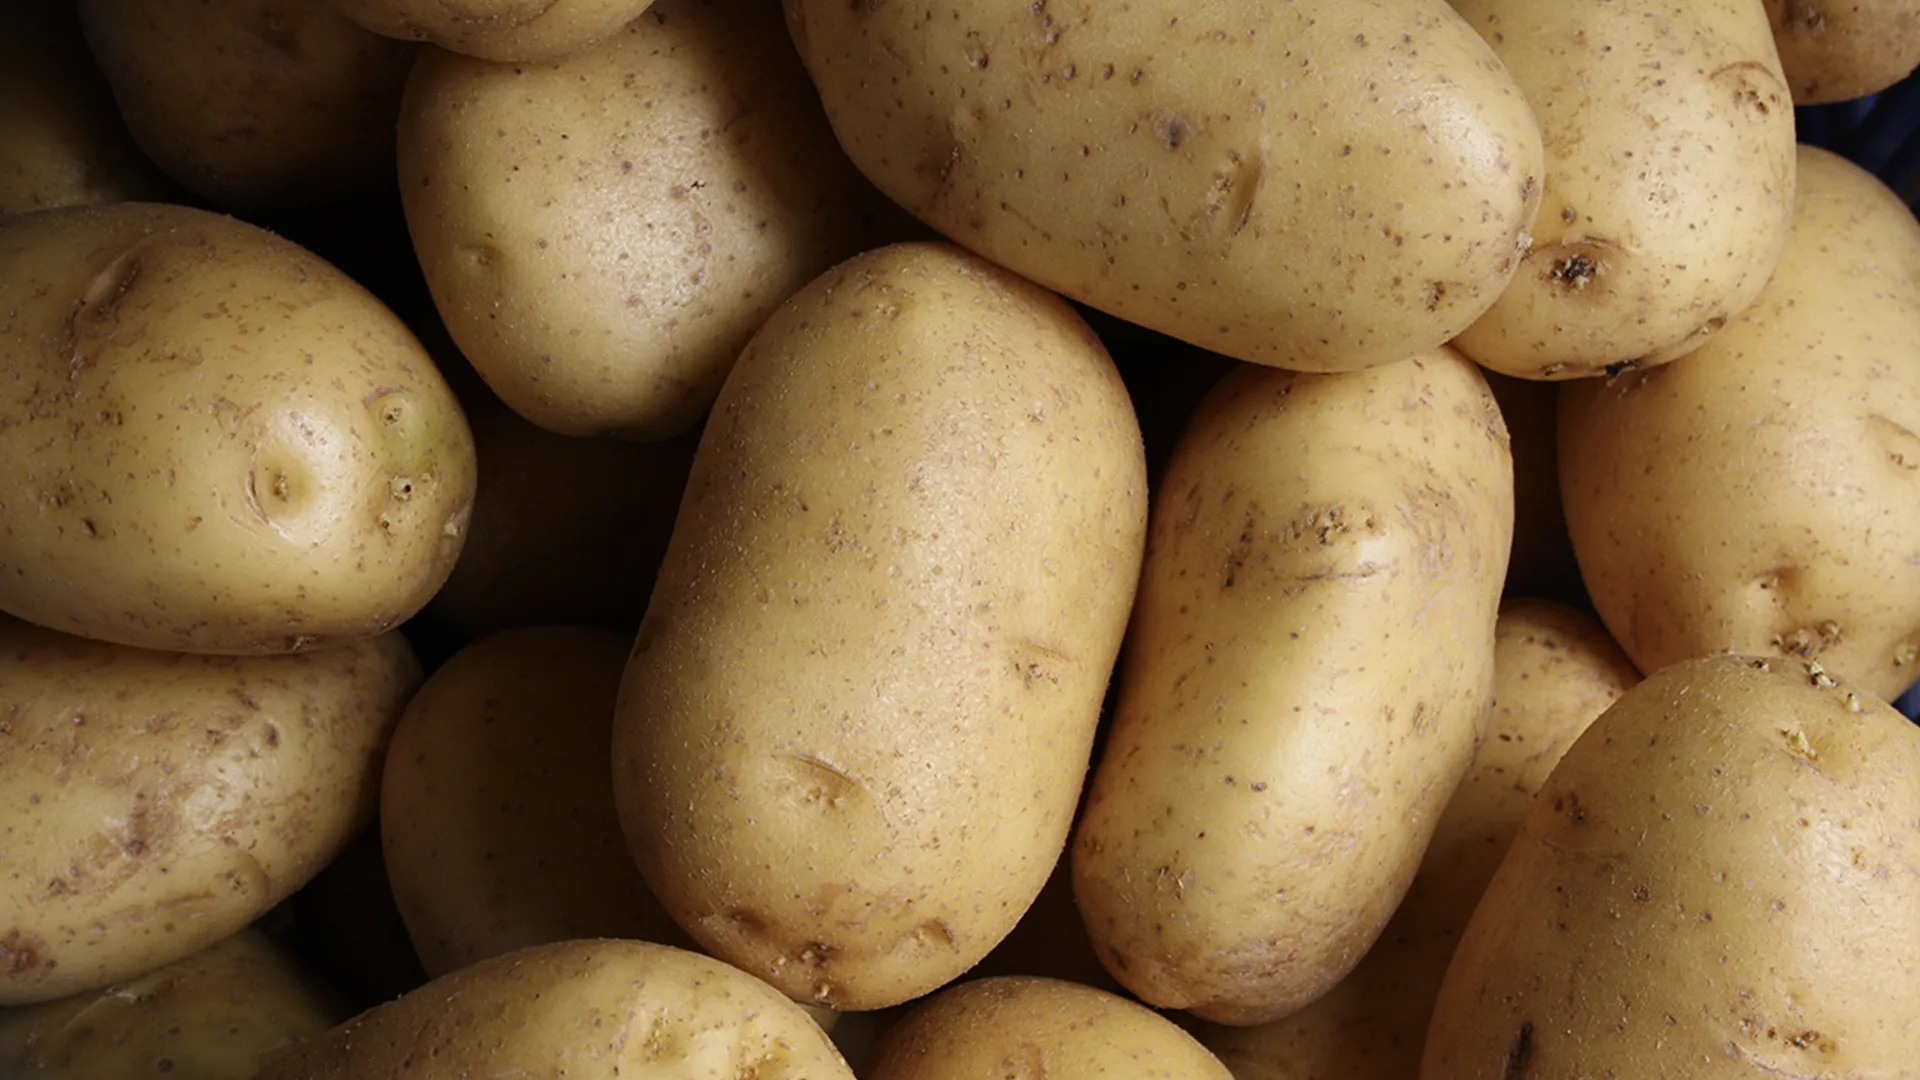
So how can that inspire us with some Christmas crafts?! Well, grab some potatoes and carve in your own shapes for Christmas cards! We can be inspired by their process and create our own printing block using tools you have at home and a potato! Potato prints can make really personalised, beautiful cards. Who doesn’t love a Christmas penguin made from potatoes on the front of a card?!
All you need is:
A potato
Acrylic paint
A safe knife (a butter knife works – ask an adult to help you with this bit, don’t take any risks by yourself)
Thick A4 paper / A4 card
Method:
1. Think about what the person receiving your card is interested in… do they like animals or would they prefer something a bit more abstract? Or perhaps a Christmas design, like a tree or a star would be more fitting?
2. Fold your card in half, either horizontally or vertically. If you want it to look like a typical card, horizontally is the way to go, if you want it to be a long card then fold the sheet whilst it is vertical.
3. Using your safe knife, safely cut your raw potato in half (an adult can do this with you).
4. Using your cutting tool, mark a stencil into the potato (tip: a penguin is quite a simple round shape and only involves using a large potato and a smaller potato cut in half).
5. Squirt some paint onto a paper plate, or another surface you don’t mind getting messy.
6. Dip your potato into the paint – making sure to cover the whole surface of the beautiful stencil you’ve made.
7. And stamp! Decorate the card as you wish.
8. Allow to dry
9. Add your message inside!
Inspired by Crafting wonders: Unveiling the artistry of carving printing blocks.
2. Gingerbread biscuits

It’s time to find grandpa’s old gingerbread recipe – or our gingerbread recipe will do! This one is for the friends or family members with a sweet tooth. It’s time to make a good old classic; golden gingerbread biscuits! They’re slightly spicy, very sweet – and totally delicious!
What you need:
Baking paper
Baking tray
2 large sized bowls – one for the dry ingredients and one for the wet ingredients
A large spoon
A rolling pin
Ingredients:
350g plain flour
1 teaspoon ground cinnamon
2 teaspoons ground ginger
1 teaspoon bicarbonate of soda
125g unsalted butter, softened
175g soft brown sugar
1 egg
4 tablespoons golden syrup
Instructions:
1. Preheat your oven to 175°C (ask an adult to help with this). Line an oven tray with baking paper.
2. In a large bowl, whisk together the plain flour, ground cinnamon, ground ginger and bicarbonate of soda.
3. Add the softened butter into the bowl with the dry ingredients. Mix them all together with a large spoon or by rubbing the ingredients together with your fingertips, so the texture goes like breadcrumbs!
4. Add the soft brown sugar into the bowl and mix it in with the breadcrumbs!
5. In a separate bowl, mix together your egg and the golden syrup.
6. Pour your wet ingredients into the bowl with the dry ingredients and mix it all together with the spoon.
7. When it all starts to combine, tip it out onto a clean surface and knead it by pressing your hands into it and forming it into a large ball of dough.
8. Pop the ball of dough back into your bowl and place it in the fridge for at least 30 mins or until it feels firm.
9. Sprinkle some flour on your kitchen surface, then use a rolling pin to roll your dough flat. You want the thickness of your dough to be about ½ cm.
10. Use gingerbread cookie cutters to cut out shapes and place them on the tray, leaving some space between each cookie.
11. Ask an adult to supervise this bit! Wear oven gloves to place your tray into the preheated oven. Leave them to bake for 12-15 minutes or until they turn golden brown. The cookies will continue to firm up as they cool, so be careful not to over bake!
12. Allow the cookies to cool.
13. Once cooled, you can decorate the gingerbread cookies with icing, sweets, or enjoy them as is. This recipe should make delicious and festive gingerbread cookies!
3. Bubble print wrapping paper

Who wants dull shop-bought wrapping paper, when you can create homemade, colourful wrapping paper?
For bubble paper all you need is:
A deep tray, like a baking tray
Water
Washing up liquid
Food colouring (as many colours as you’d like)
A paper straw
A3 or A2 Paper
Method
1. Get the bubbles going by adding water, food colouring and washing up liquid into a deep tray. You don’t need to go too heavy on the washing up liquid, a tablespoon will do!
2. Get ready to blow! Use your paper straw to blow into the mix – make sure you don’t suck any up the straw! Yuck!
3. The bubbles will start growing and filling up the width, depth and breadth of the tray. Can you see any colours in the bubbles? If not, add some more drops of food colouring.
4. Taking your sheet of paper, lightly (which means very delicately) press it on top of the bubbles.
5. You can reuse the bubbles for as many sheets of wrapping paper as you need to make.
6. Flip over the paper and check out your work! Pretty cool, eh?
7. Leave the paper to dry
4. Homemade Hand Scrub
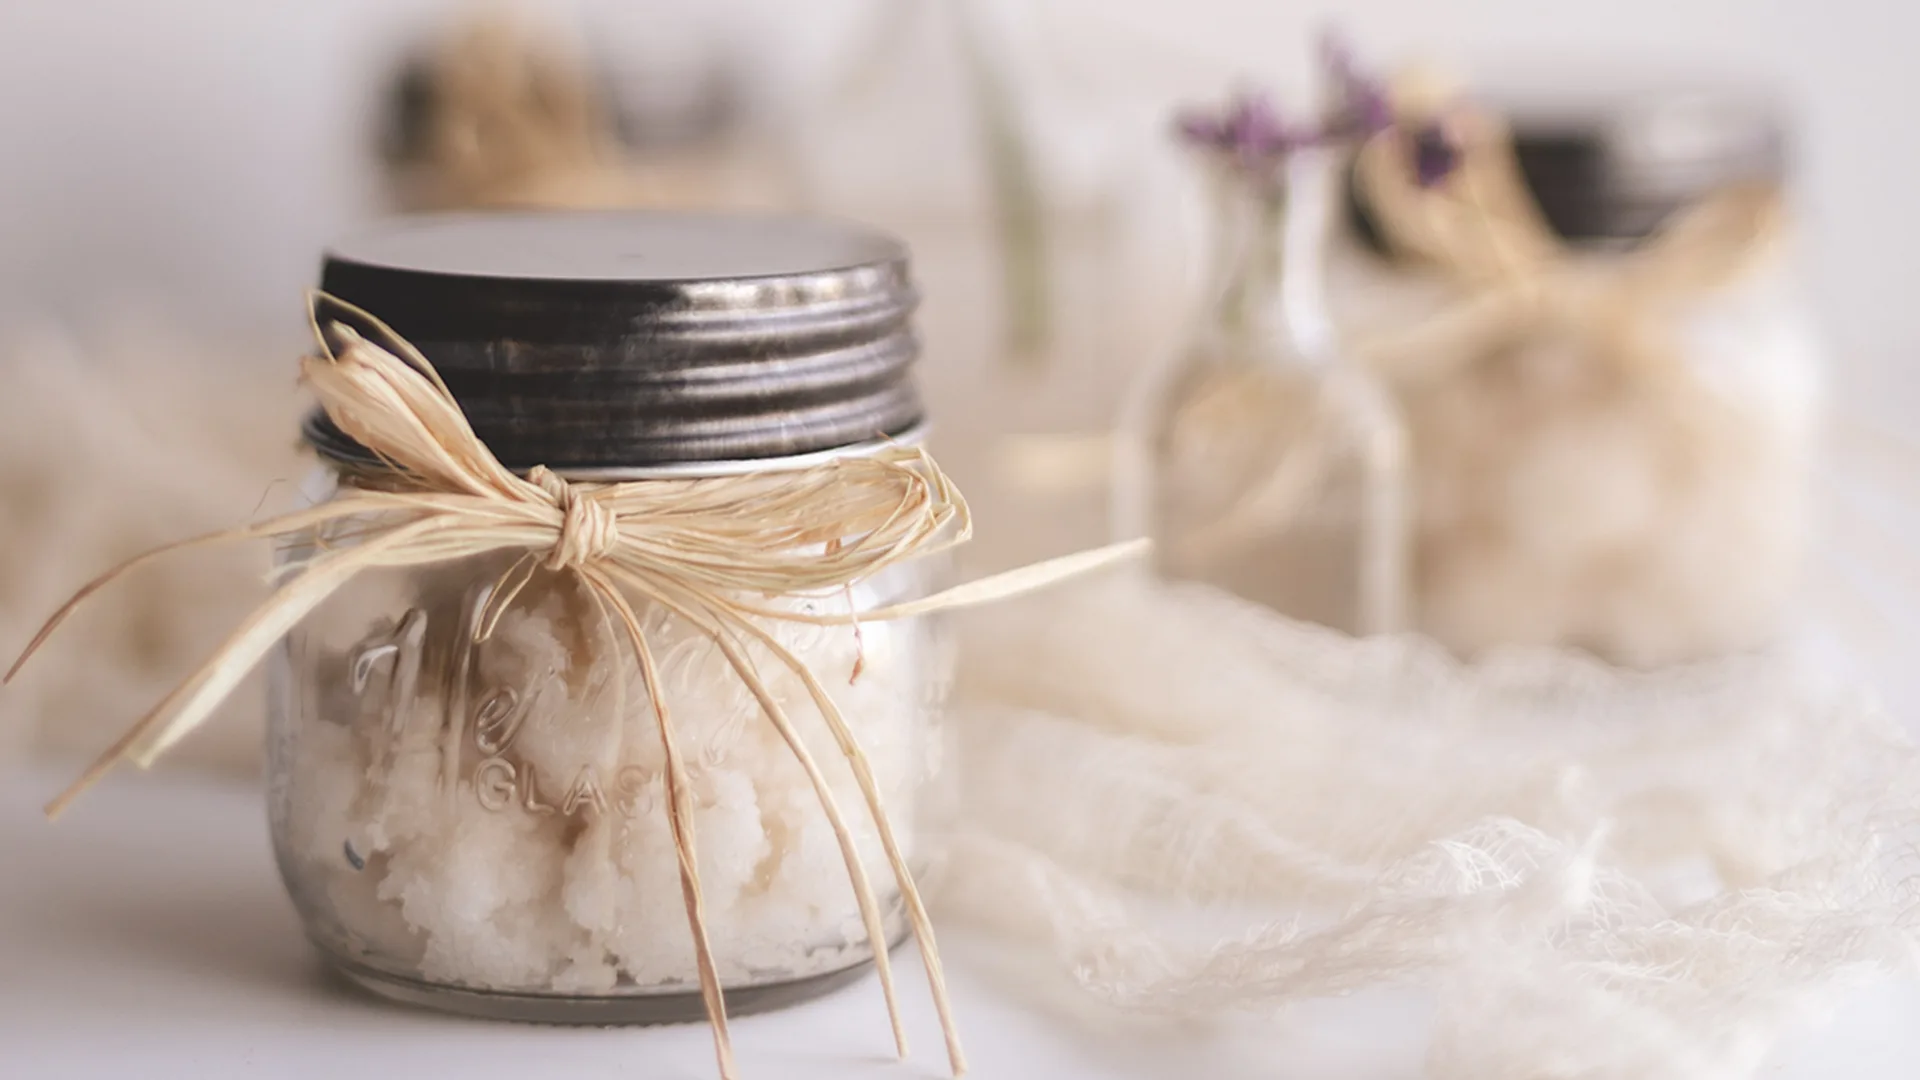
Who doesn’t like having baby soft hands? This gift would be perfect for an adult in your life that you’re truly grateful for. They work hard and they need some quality self care time at home.
Who knew that by using a mix of coconut oil, sugar and a couple of drops of essential oil you can create something truly magical for them at home?
What you need:
A bowl
A spoon
A clean, dry jar to store your lovely scrub in – you could use an old jam jar for this!
Ingredients:
125g coconut oil (solid, but softened)
250g granulated sugar (you can use brown sugar for a coarser scrub)
10-15 drops of your favourite essential oil (such as lavender, peppermint, or citrus)
Instructions:
1. Measure out 125g of coconut oil. If it’s solid, you can soften it by placing the container in a bowl of warm water or microwaving it for a few seconds (always do this with an adult). The goal is to have a soft but not fully melted bowl of coconut oil.
2. In a mixing bowl, combine the softened coconut oil with 250g of granulated sugar. Stir the mixture until the sugar is evenly distributed throughout the coconut oil.
3. Add 10-15 drops of your chosen essential oil to the mixture. Adjust the quantity based on how strong you want it to smell!
4. Mix the ingredients thoroughly until you achieve a consistent texture. The sugar will act as an exfoliant, while the coconut oil will moisturise the hands.
5. Finally, pop the hand scrub into a clean, airtight container. You can use a small glass jar.
Store the hand scrub in a cool, dry place. Coconut oil tends to solidify at cooler temperatures, so if the scrub hardens, you can soften it by rubbing a small amount between your palms. Enjoy!
5. Hot chocolate mugs

A lovely hot chocolate feels extra special around Christmas time. Why not make a gift that will be remembered and sipped after the festive season?
All you need is:
A sealable glass jar – you could use an old jam jar for this!
Decorative ribbon
Decorative candy cane
Pre-bought hot chocolate powder
Chocolate chips
Baby marshmallows
Method:
1. Make sure your glass jar is clean and dry
2. Get layering! Add 3 tablespoons of hot chocolate mix, 2 tablespoons of chocolate chips and 1 tablespoon of baby marshmallows
3. Seal the jar and add a pretty ribbon
4. Slip a candy cane under the bow
5. Ta-da! Winter warmer drinks sorted!


