by Bhavesh Shah, Scientist (Environment) and Maria Ines Carvalho, ERASMUS student placement (University of Porto)
The Victoria and Albert Museum’s collection constantly needs protecting, especially objects that are seen as food by pests. Monitoring the activity of insects is a routine part of business and the V&A has a comprehensive strategy of Integrated Pest Monitoring (IPM) to deal with prevention, monitoring and response if an insect outbreak occurs. This relies on the regular inspection of insect traps throughout the Museum by trained members of staff who report the findings back to the Science section, but what if we could develop a system that gives more insight into the behaviour of insects and then use this information to prevent future outbreaks? One idea was to create an insect ‘security camera’ using a Raspberry Pi to monitor activity. A Raspberry Pi is a minicomputer by the Raspberry Pi Foundation, initially developed to teach programming to school children on the premise of providing a ‘low-cost, high-performance computer that people use to learn, solve problems and have fun’.1
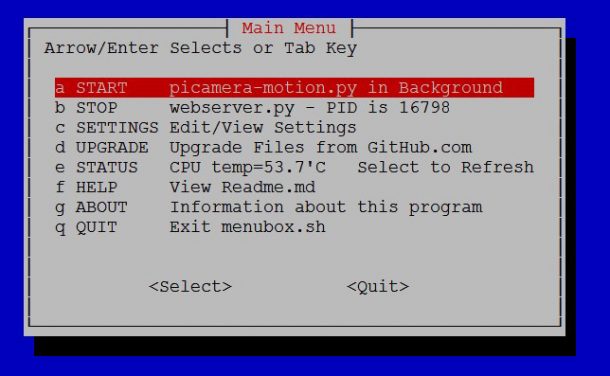
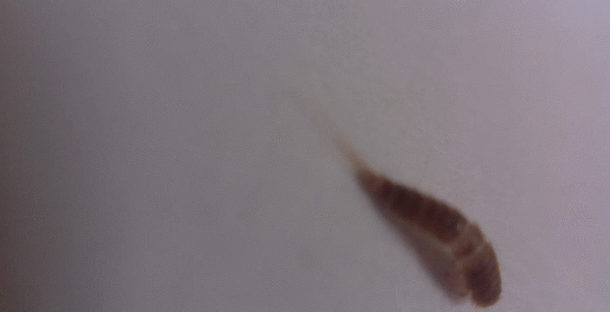
Free open source development platforms such as GitHub offer code generated by a community of coders and for this project we opted to use Raspberry PI-TIMOLO (“PI-TImelapse, MOtion, LOwLight”) created by Claude Pageau.2 PI-TIMOLO was designed for security monitoring plus has the features of low light camera settings and a webserver (Figure 1). The initial results were promising (Figure 2). Temperature, humidity and light sensors could also be added to find out, for example, what time of day insects are more active or if they favour particular environmental conditions.
The first step to creating a monitor was purchasing the hardware and links from the Raspberry Pi website (the basic set up came to about £50). The following equipment was used:
-Raspberry Pi Zero W / Raspberry Pi 3 Model B+
-Camera module (a 160° variable focus camera module for Raspberry Pi Zero)
-16Gb memory card (or larger and pre-installed with NOOBS to allow you to get started straight away)
-Case (for handling)
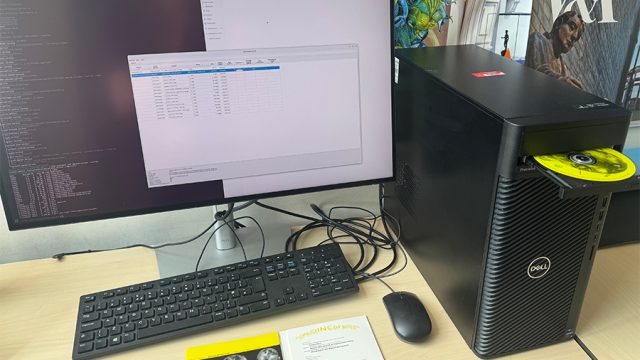
-Monitor / keyboard / mouse
-Optional: portable power bank, 4-port USB hub (if using the Pi Zero W), a camera lens set (to take macro images) and an air quality, temperature, pressure, humidity sensor.
The instructions for setting up the Raspberry Pi and the camera module are on the Raspberry Pi website: https://www.raspberrypi.org/documentation/configuration/camera.md .
Installation of Pi-TIMOLO is very straightforward via the Linux terminal:
-sudo apt-get update && sudo apt-get upgrade
-curl -L https://raw.github.com/pageauc/pi-timolo/master/source/pi-timolo-install.sh | bash
-cd ~/pi-timolo
-./pi-timolo.py
-./menubox.sh
-Start motion detection. A red light will appear next to the camera when motion is detected.
-Start webserver. To look at images from the webserver input the IP from the Raspberry Pi and then use the :8080 ending. For example: 192.168.1.120:8080
Now a monitor has been shown to be working, it can be used to explore tasks such as:
-Counting and tracking of insects
-Image classifying
-Correlating insect activity with the environment (hot/humid/dark)
-Using different methods to identify insects with different sensors (e.g. students at Cambridge University have used sound3)
References
- https://www.raspberrypi.org/ [accessed 8 October 2018]
- https://github.com/pageauc/pi-timolo [accessed 8 October 2018]
- https://www.hackster.io/65001/diy-bioacoustics-ae28a3 [accessed 8 October 2018]
