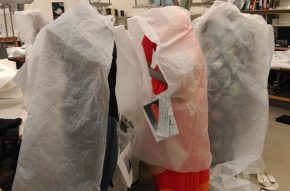
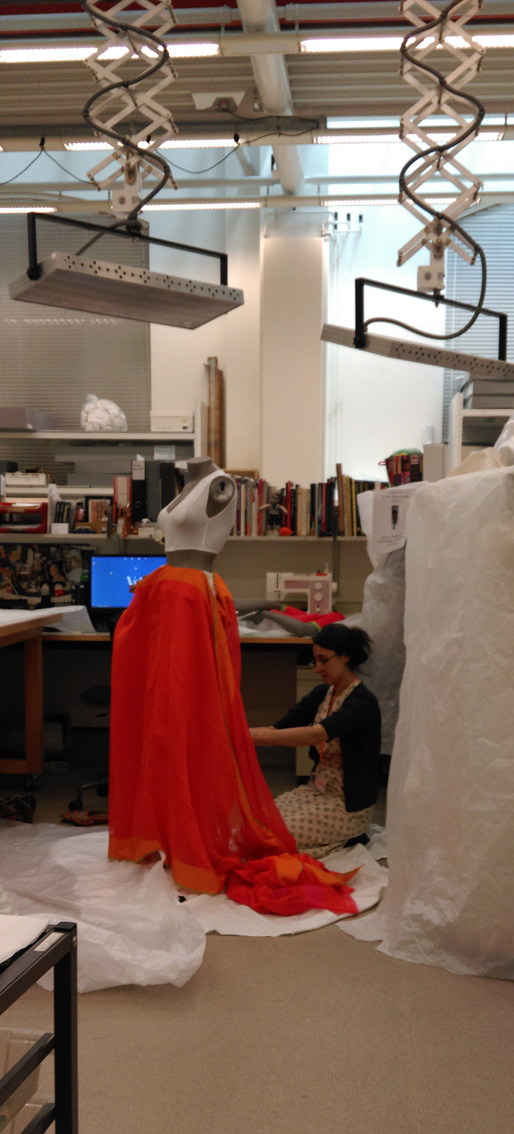
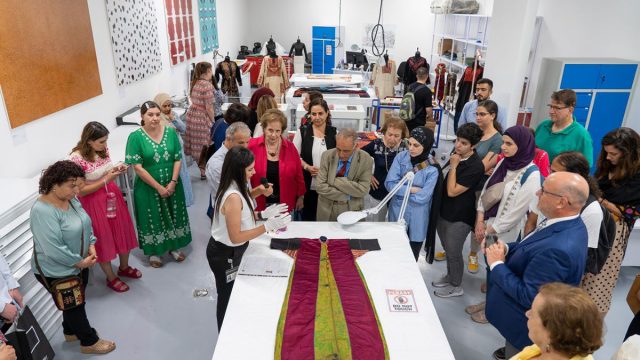
Here in Textile Conservation we are just over half way through mounting the garments for display in The Fabric of India. A few weeks ago, our studio was all a-flurry with the unwrapping of mannequins and the speedy draping of a collection of stunning and vibrant contemporary saris for publication photography. That was by no means the end of the sari saga though, and what we have been doing since then is dressing all of the figures in a slightly more time consuming, but conservation friendly manner. This will hopefully make the objects far more secure for their display at the V&A, and most importantly, for their onward international tour. For travel, all the saris will remain dressed on their mannequins, which have been specially made with re-enforced legs so they can travel upright, and each will be packed in its own individual crate.
As a Conservation Display Specialist, it is my role to oversee all the costume mounting and packing for The Fabric of India. Sari mounting is not as new to me now as it was when I mounted a wedding sari back in 2014 for Wedding Dresses 1775-2014 – with lots of help from some friends! So while I am getting much more accustomed to folding and draping, there is one thing that stands out the more I practice this – and that is how difficult it can be to dress a sari on a slippery fibreglass mannequin! As soon as you get one thing in place, another bit seems to slide off…
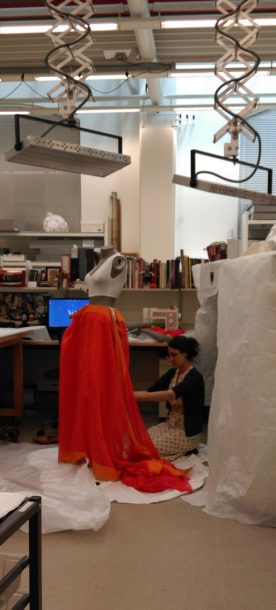
Luckily, we have a handful of placement students in the textile conservation studio this summer, so I have had an eager group of pupils to share my slippery sari mounting adventures with. Before they started however, I thought maybe I should try to work out a good ‘anti-slip’ system for them to try out.
I have to hold my hands up and admit that we are cheating slightly – we do this an awful lot as Display Specialists! I’m sure every regular sari wearer would tell me that the most important thing is when draping a sari is having a petticoat with a drawstring you can tie really really tightly. This works well on a real person, but doesn’t provide enough grip on the fibreglass bodies. We needed something sturdier, and we needed to make sure it wouldn’t slither up or down the figure, even when it was being moved around.
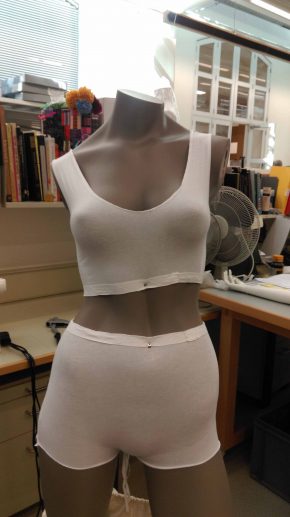
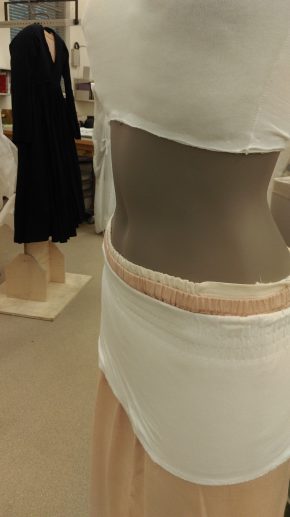
A bit of friction is often your friend when it comes to dressing fibreglass figures, so our first stage was to cover the figures in cotton jersey, giving the sari something to grip to. The second stage was to stop the jersey itself from moving, and this was where things got a bit more heavy duty. Having drilled holes in the mannequin, we then used blind rivets to fix the jersey to the mannequin – I think the students enjoyed this bit! Next it was time to cut the jersey away where it would be visible once the figure was dressed. This left our mannequins looking very much like they were wearing gym outfits!
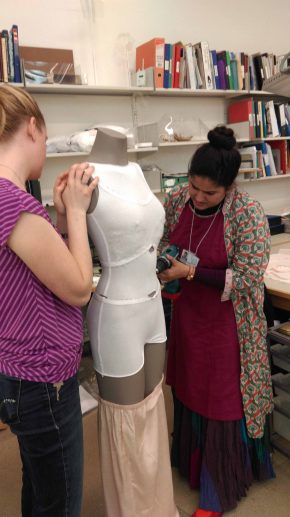
Now we needed something to keeps the pleats of the sari in place, and here’s where we turned to some major elastication. Tightly elasticated belts were made to be worn beneath the saris, in conjunction with elasticated underskirts, rather than skirts with drawstrings. The belts were also made with straps that fed between the mannequin’s legs to keep everything well anchored in the correct position!
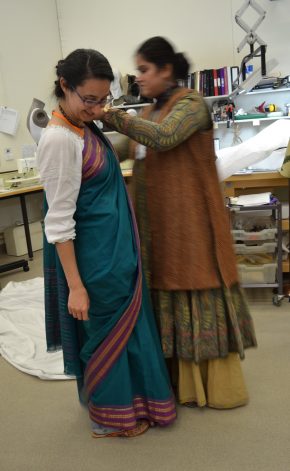
With all of the underpinnings completed, it was back to the dressing the figures, and here I have to confess that we might have gotten a little distracted. It was time to get out a non-museum sari (lent to us from the personal collection of one of our department staff) to practice some draping on the mannequins…which turned into practicing draping on ourselves, with much help and encouragement from Deepshikha Kalsi, a visiting Textile Conservator from India!
We did eventually get back to the objects though, and we now have a spectacular collection of figures dressed in their saris and ready for display.
