Author Chris Seagers is an Art Director and Production Designer who recently collaborated with Ridley Scott on Alien: Covenant (2017).
In the Alien: Covenant script, director Ridley Scott wanted to create a prologue sequence. This would be an engagement between a synthetic (Michael Fassbender) and his maker (Guy Pearce) in a philosophical conversation ‘if you created me, who created you?’ This would be set in an elegant, stark open white space with only four props. The scene would also be where the synthetic would get named. I was asked if we could create a full-size statue of Michelangelo’s David in this space which, had we been in Europe, would have been relatively straightforward. As we were in Australia, we started the search for references, drawings, etc. It was very important to Ridley that the sculpture was an exact physical full-size copy. If done badly, sculptures of the human body, at this scale, can go very badly wrong and Ridley’s a stickler for detail! The clock was ticking and we quickly discovered that to do this job properly, we’d need to scan one of the few copies in existence, as access to the original was not an option in our time frame. I approached an architect friend of mine (Peter Higgins) who had worked for the V&A in the past and had a contact there, Johanna Puisto. To our surprise the V&A were amazingly up for the idea and within a couple of weeks or so we had arranged for a scanning crew from Plowman Craven to go to the V&A and create a full-size accurate template.
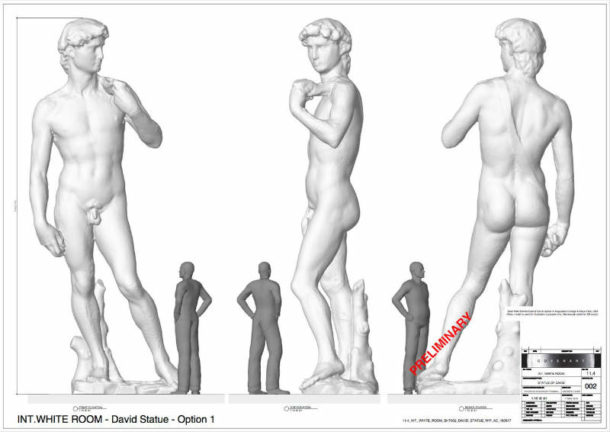
The scanning process would take around eight hours. Normally this would require building scaffolding around the object, but due to the sensitive nature of the other museum artifacts this could be difficult. They decided to scan the sculpture from the floor and the gallery above using a telescopic tripod from different positions. The multiple scans were then melded together to form a high density highly actuate, virtual copy of the sculpture.
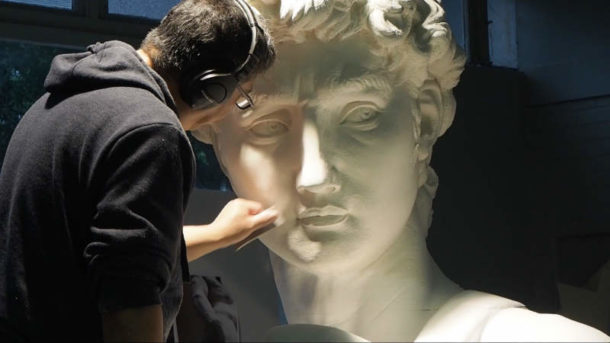
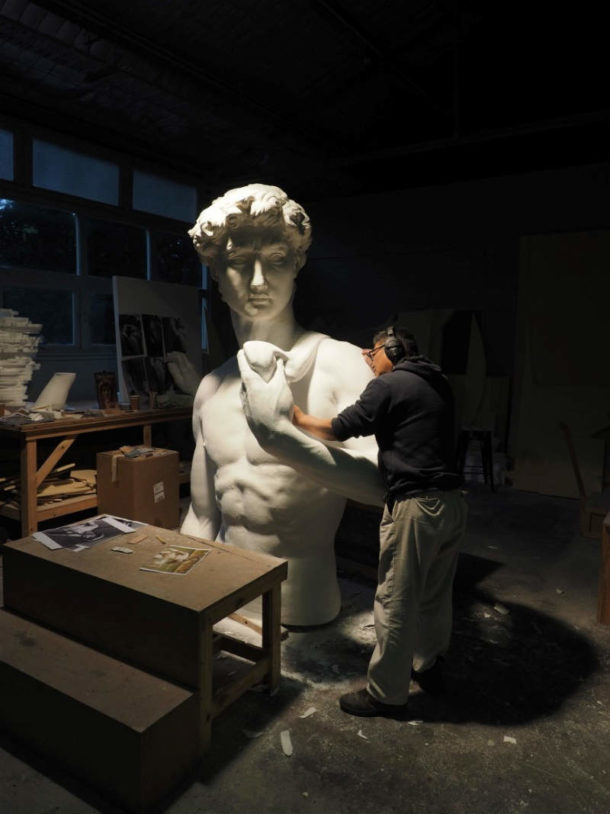
The construction process of the David model was determined by an extremely tight turnaround period. We have, on our crew, very talented sculptors who, if we’d had the time, could have copied the David statue from scratch. Unfortunately, we didn’t have the time so 3D sculpting was our only choice. We decided to construct the statue in polystyrene around a steel armature attached to a base plate. As the statue was so tall the polystyrene would assist with the overall weight, making it easier to handle once completed. The metal armature would give us a top pick point, which was hidden in his head, to assist us with transporting with a forklift through the various processes and would also assist as a registration point when assembling the polystyrene parts.
Plowman Craven, in London, scanned the David statue in the V&A and sent it to us in Sydney, Australia where we were shooting the film. We converted the LiDAR file into a version/format that was easier for us to manipulate digitally and was compatible with the 3D printing company. The digital draughtsman then cleaned the LiDAR file, removing all the surrounding waste information we didn’t need. The LiDAR files usually have no scale, so we needed to scale the file giving us the correct size for sculpting. The size was taken from the original David’s height, ensuring the proportions were correct. At the same time we worked out the best path for the metal armature.
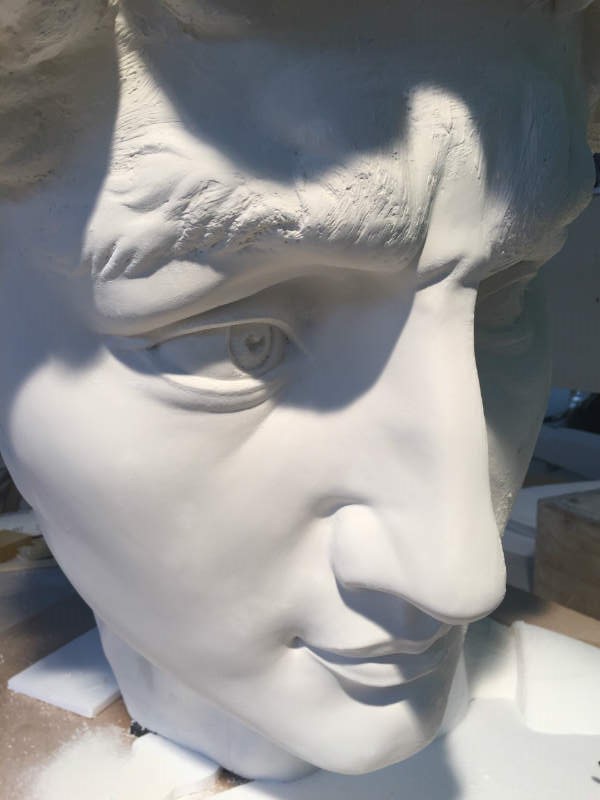
We sent our digital file to the 3D sculpting company who cut the statue into approximately 1200mm thick horizontal polystyrene slices, like a layer cake. This helped with the physical handling of the individual pieces, and transporting as they weren’t on site. Once the slices were returned to us they were glued together to create three larger blocks. This allowed the craftsman to work on larger sections before fitting around the metal armature to form the full statue.
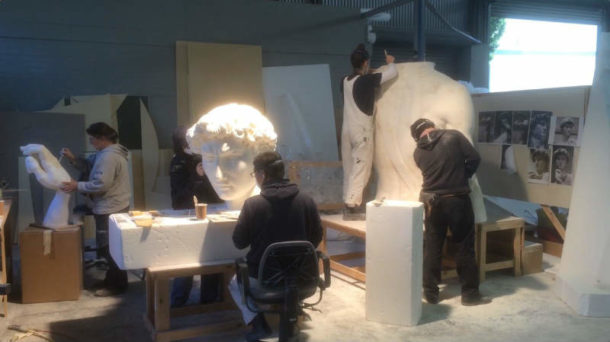
The next process was to get our sculptors to tidy up and finish off before painting. This process required melding all the polystyrene slices together, removing the many seams/joints and any imperfections in the scan. The sculptor works with many photographic references of the original sculpture ensuring it’s an exact copy. As perfect as the digital scan is, they always require a human sculptor to come in and finish off. They skimmed over the entire polystyrene sculpture with several smooth thin plaster hard coats. This gave it the realistic hard marble stone texture including the life-like texture finish to any rougher broken areas.
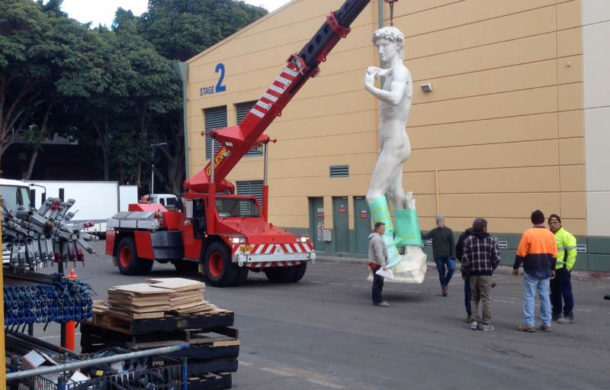
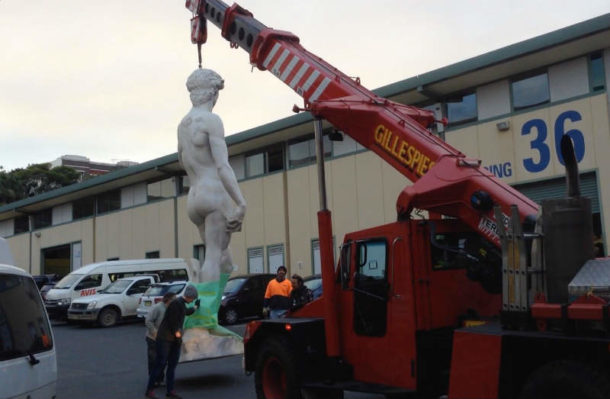
Finally it went in to be painted. This is where it all comes to life. Using all the photographic references we could find of the real sculpture, the scenic painters copied the real David exactly, adding the marble vanes, cracks and textures, highlighting the details in the hands, etc. to give it real depth. The very last stage is the aging process, with light washes; this ties it all together and helps tonally when being filmed on camera.
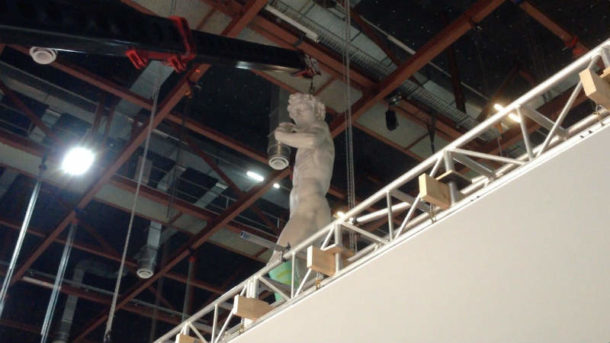
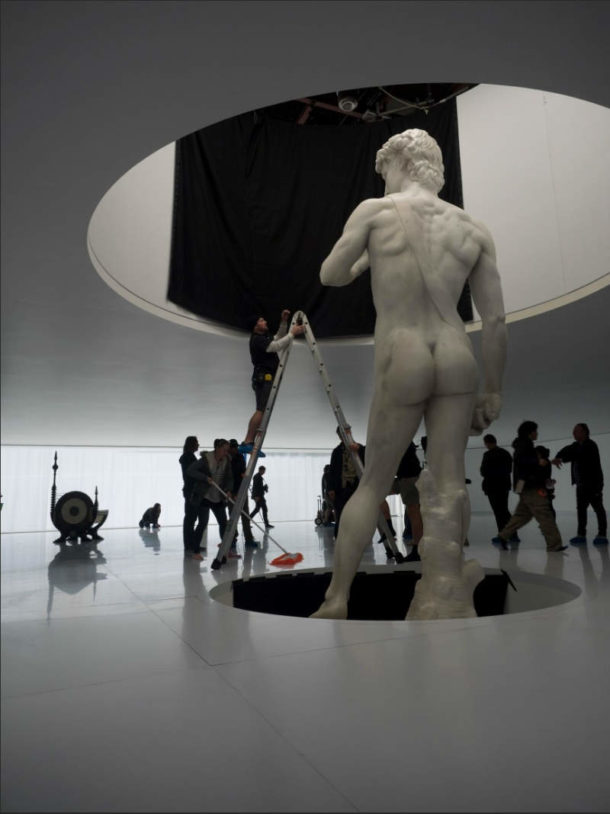
The prologue sequence was shot on the set over two days. Once everything had been checked in editing and everyone was happy and they had everything, the whole set including the David model was sadly broken up and dropped in a skip. I suppose the irony is that David retains his exclusivity.
CHRIS SEAGERS
Based in the United Kingdom, Chris started his film career as an art director on successful films such as Universal’s A Kiss Before Dying (1991) and Regency’s Copycat (1995). In those early days, Chris worked with directors such as Neil Jordan on The Good Thief, The End of the Affair and The Crying Game. Nominated in 1998 for an Art Directors Guild award for Excellence in Production Design on DreamWorks’ Saving Private Ryan then led him on to Peter Howitt’s Johnny English, among others.
Chris’s success as a production designer began his long-term collaboration with Tony Scott, starting with Spy Game (2000) and continuing with films such as Fox 2000’s Man on Fire (2004), New Line’s Domino (2005), Touchstone’s Déjà Vu (2006), Columbia Pictures’ The Taking of Pelham 1 2 3 (2009) and Tony’s last film Unstoppable (2010).
Chris went on to work with other directors, such as Bruce Robinson in GK Films’ The Rum Diary (2011), Matthew Vaughn in Twentieth Century Fox’s X-Men: First Class (2011), Wally Pfister in Alcon Entertainment’s Transcendence (2014), and Peter Burg in the challenging and very physical Deepwater Horizon (2016).
Chris has recently reunited with the Scott family, joining Ridley on Alien: Covenant (2017).
I always find it fun when audience members start breaking a film down and analyzing why certain piece of art etc have been used in a film. This has already started with the white room in covenant.
Interesting article. But all that work, all that skill, all that time, and it just ends in a skip! Amazing. I know the result – the film – doesn’t, hopefully, end in a bin somewhere, but it still feels somehow wasteful.